Creating Compound Paths Using the Pathfinder
A Compound Path is taking two or more different shapes and combining them to create one consistent shape in Illustrator. We will use something called the "Pathfinder" to achieve this effect.
1) Open Illustrator
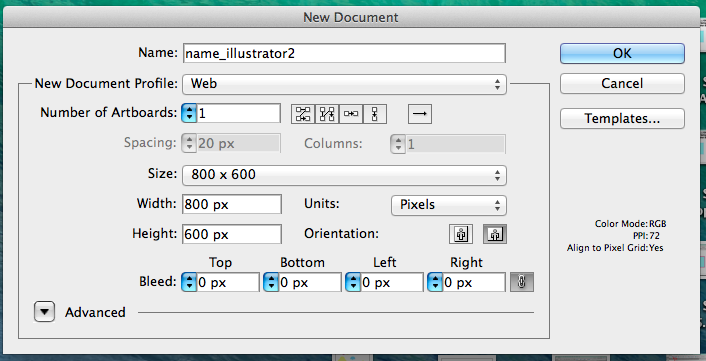
2) Create a New Project in Illustrator. Then give it a name called "yourname_illustrator2"

|
|
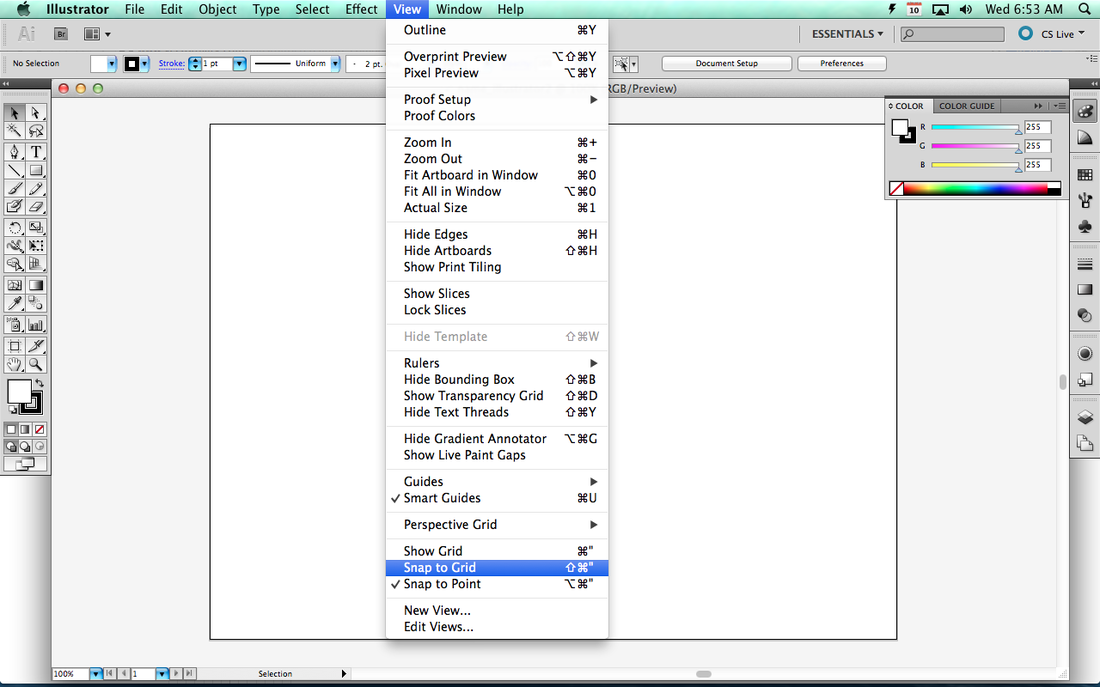
3) We are going to expose our grid and turn on something called Snapping. You will see that the objects will quickly line up at different intersections.
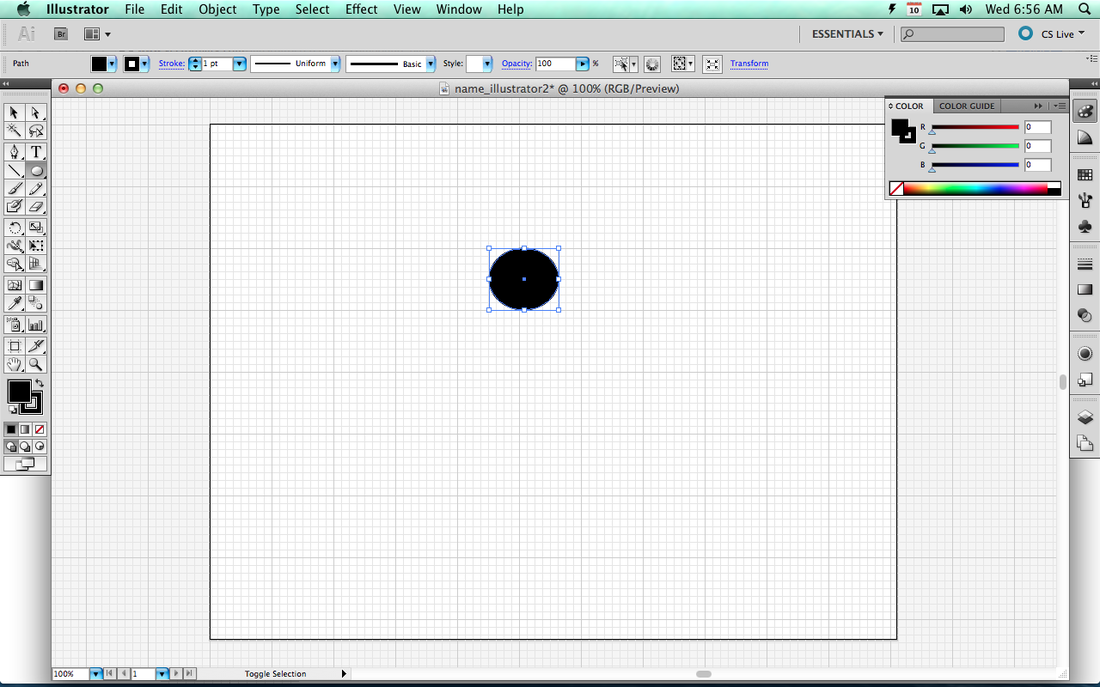
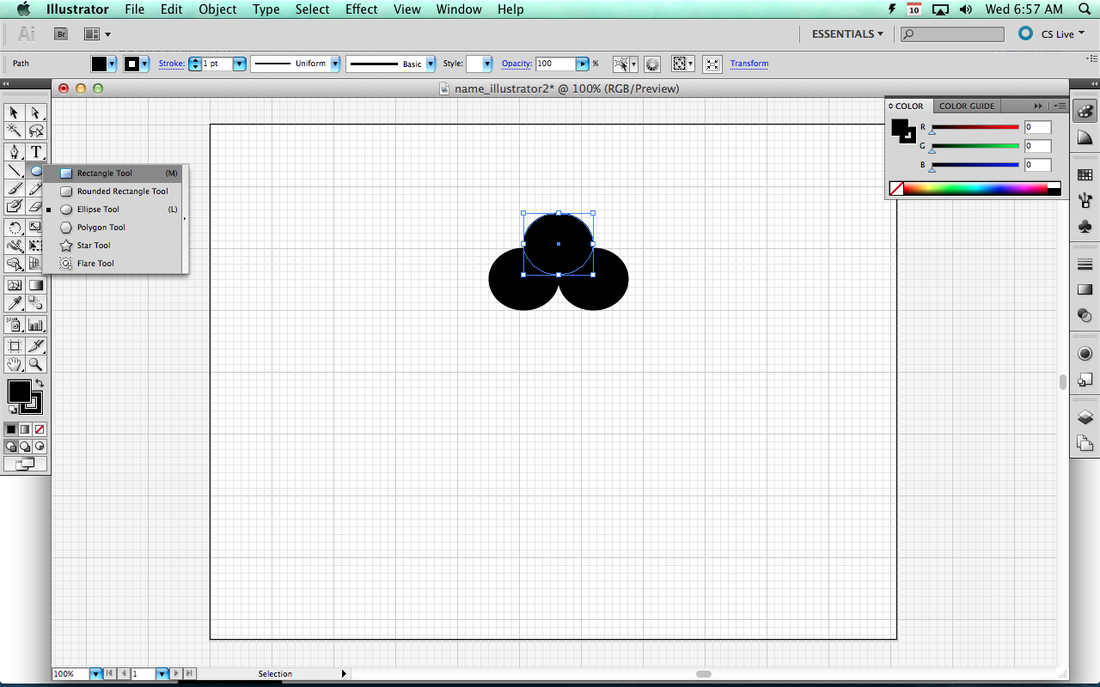
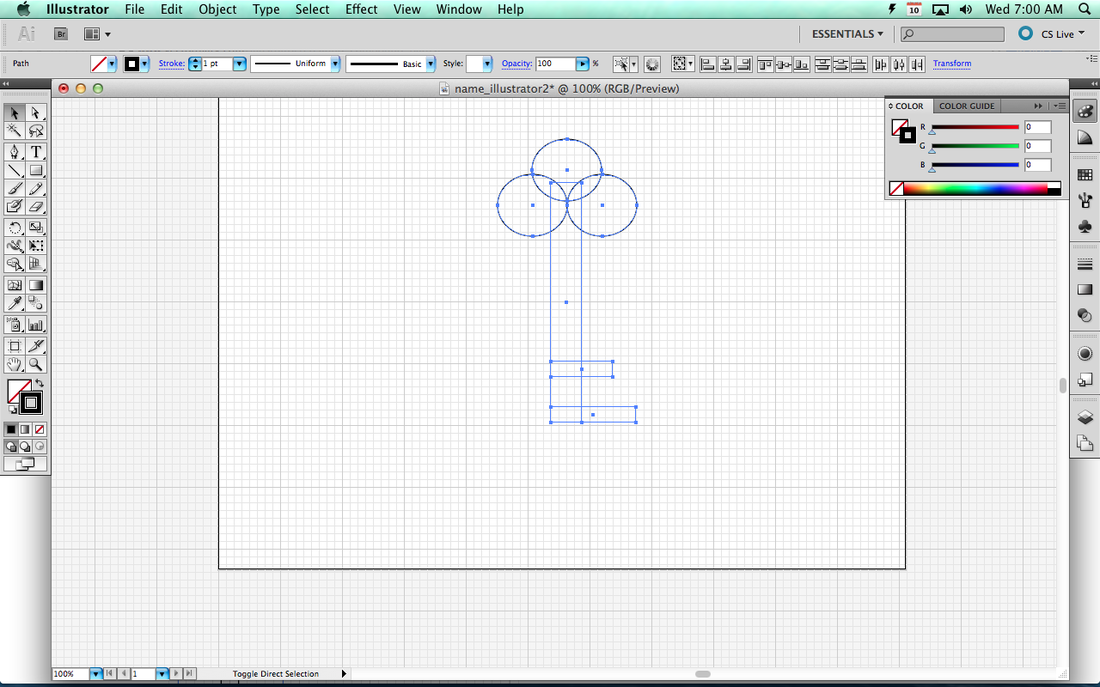
4) Now, use your Ellipse shape tool to draw one circle.
5) Go back to your Selection Tool
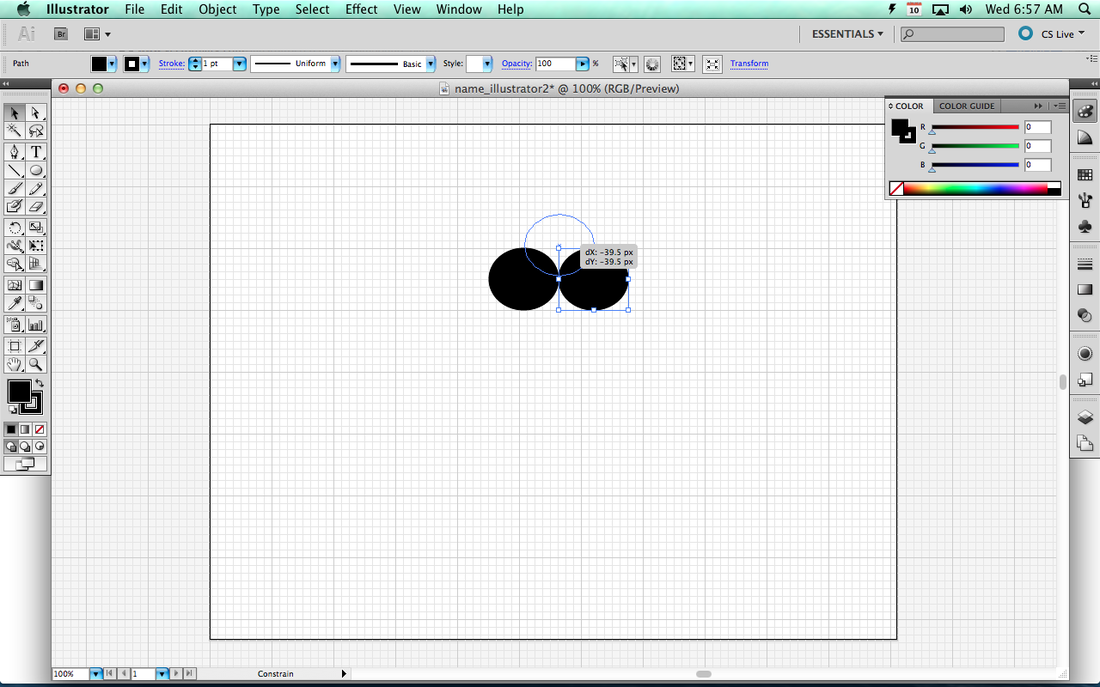
6) Hold down Alt or Option and Click and Drag to Make a New Circle Right next to the existing one.
|
|
7) Do the same thing to make one more circle that sits just above the first two and covers part of the middle of all three.
|
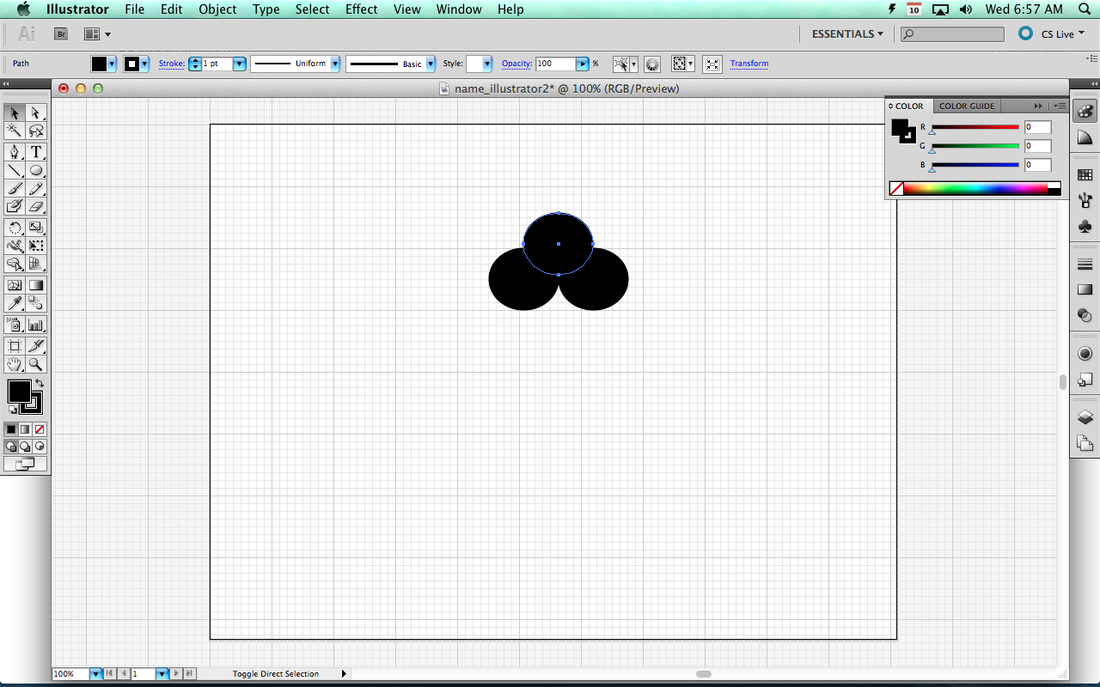
|
8) Go to your Rectangle tool to make the stem of the key
|
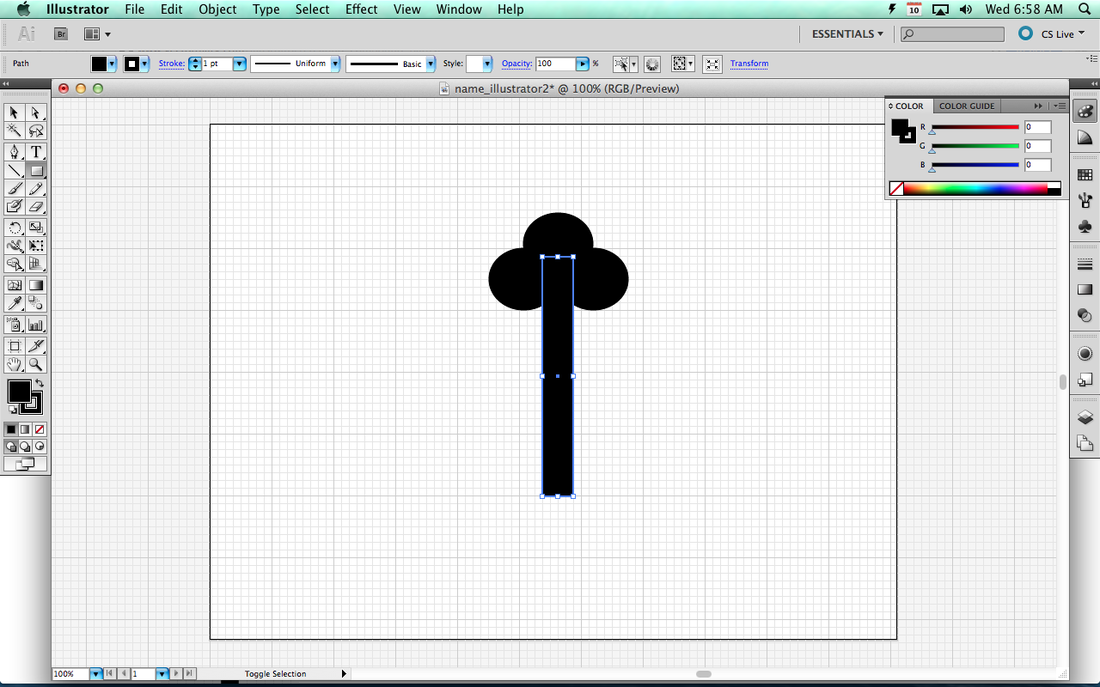
|
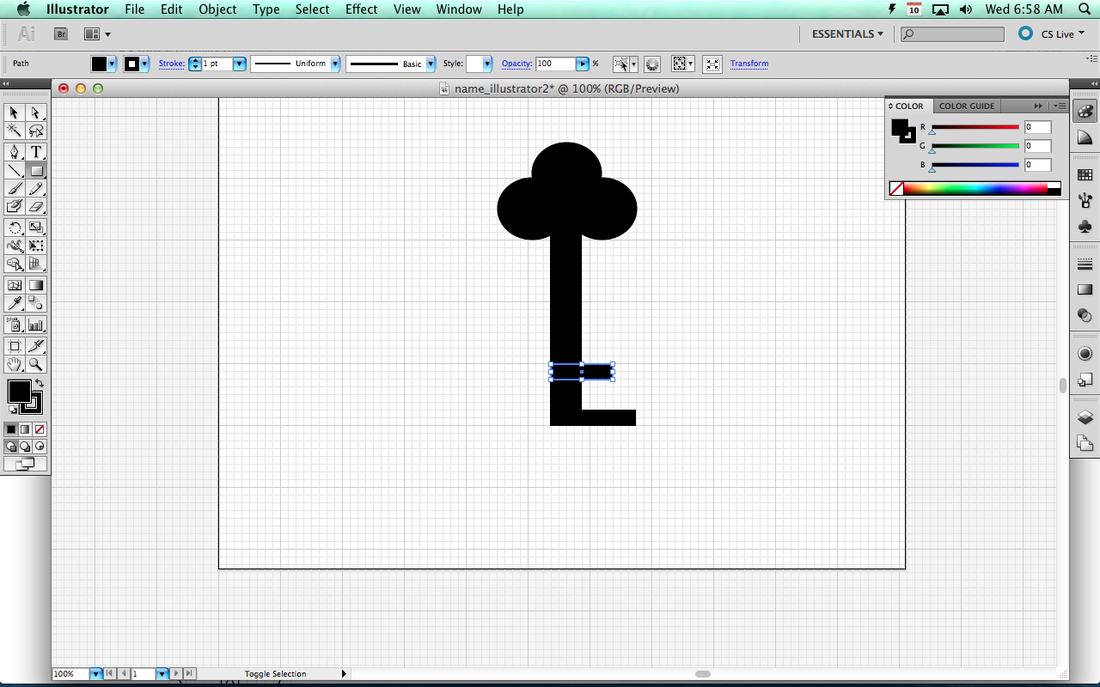
9) Continue using the Rectangle tool to make the unlocking parts of the key
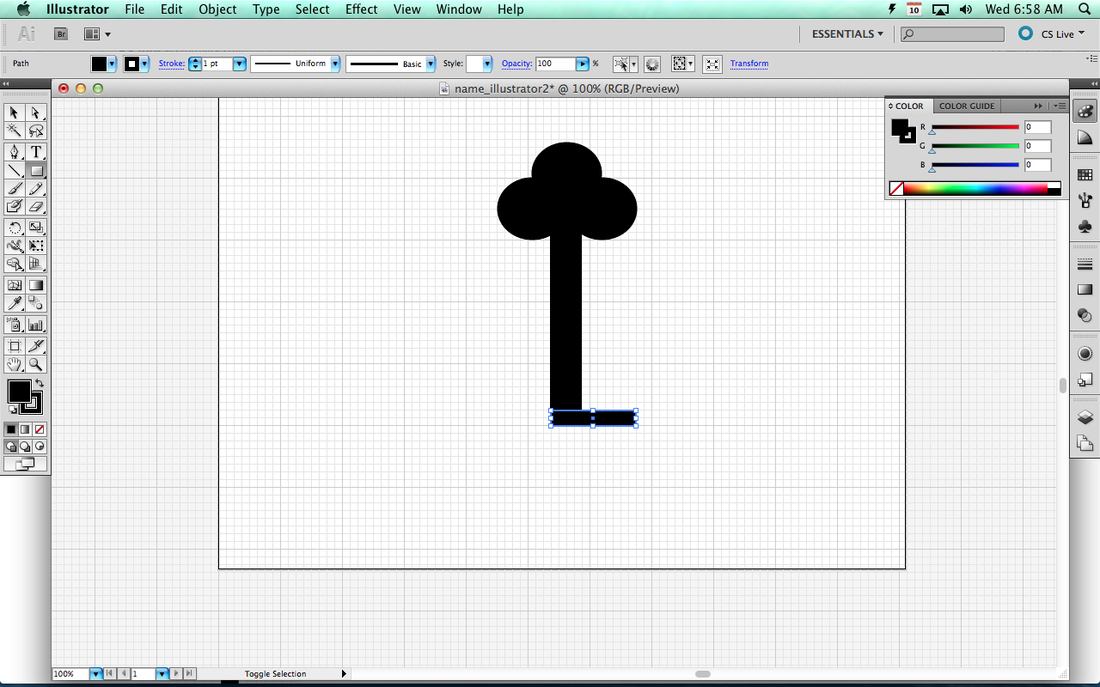
|
|
10) Click the little white box with red line through it to remove the color from the key
10a) Then click the arrow next to the two boxes to swap the Fill and Stroke
10a) Then click the arrow next to the two boxes to swap the Fill and Stroke

|

|
11) Your key will look like it is transparent with a small border around the edge
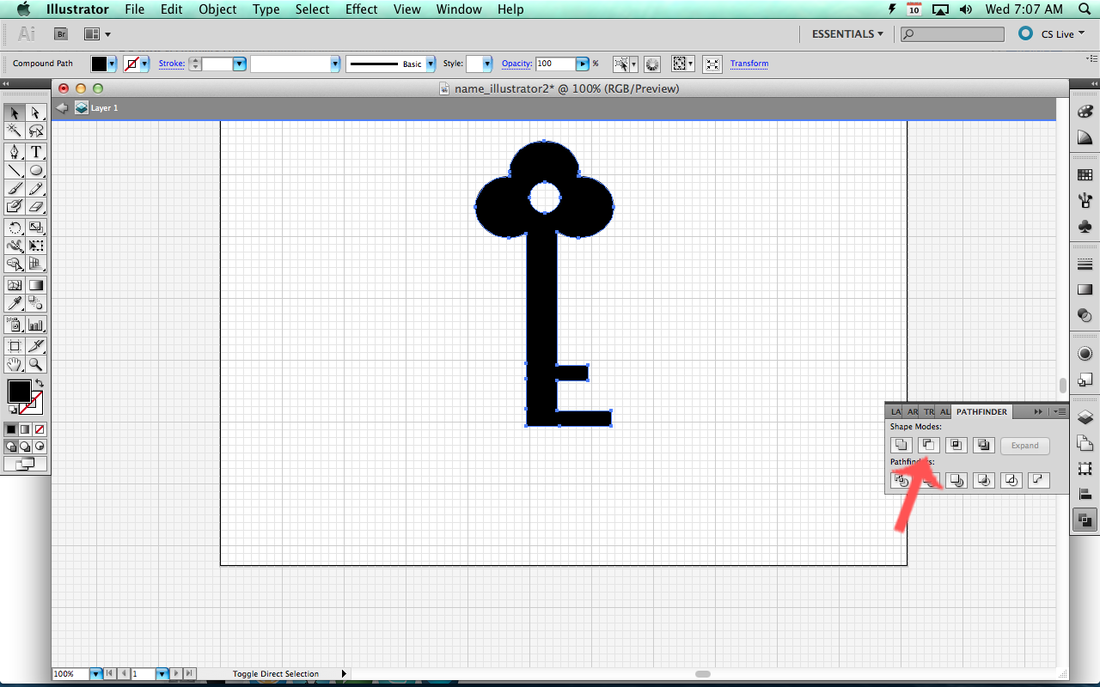
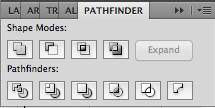
Pathfinder
12) Go to Window-->Pathfinder
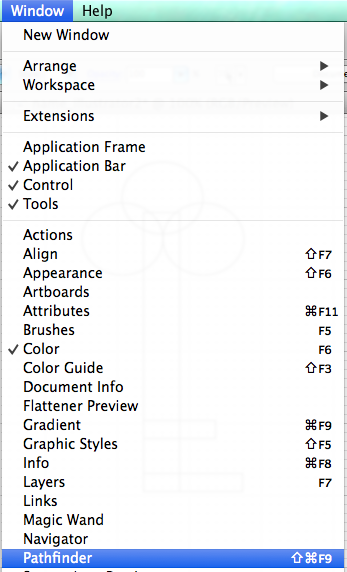
13) The Pathfinder window looks like this below. The two tools we'll be using are the Add and Subtract tools.
|
|
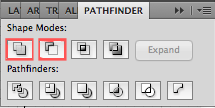
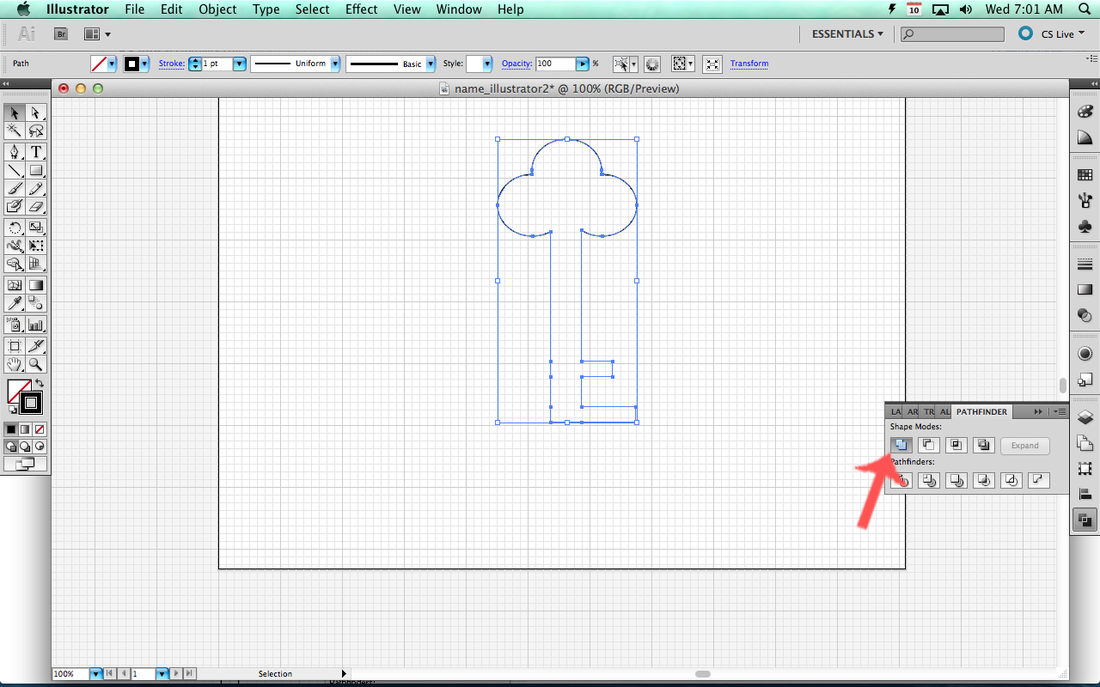
14) Use the Selection tool to highlight your image and then click the Add button on the Pathfinder window.
15) Click the arrow again to swap the Fill and Stroke Color.

|

|
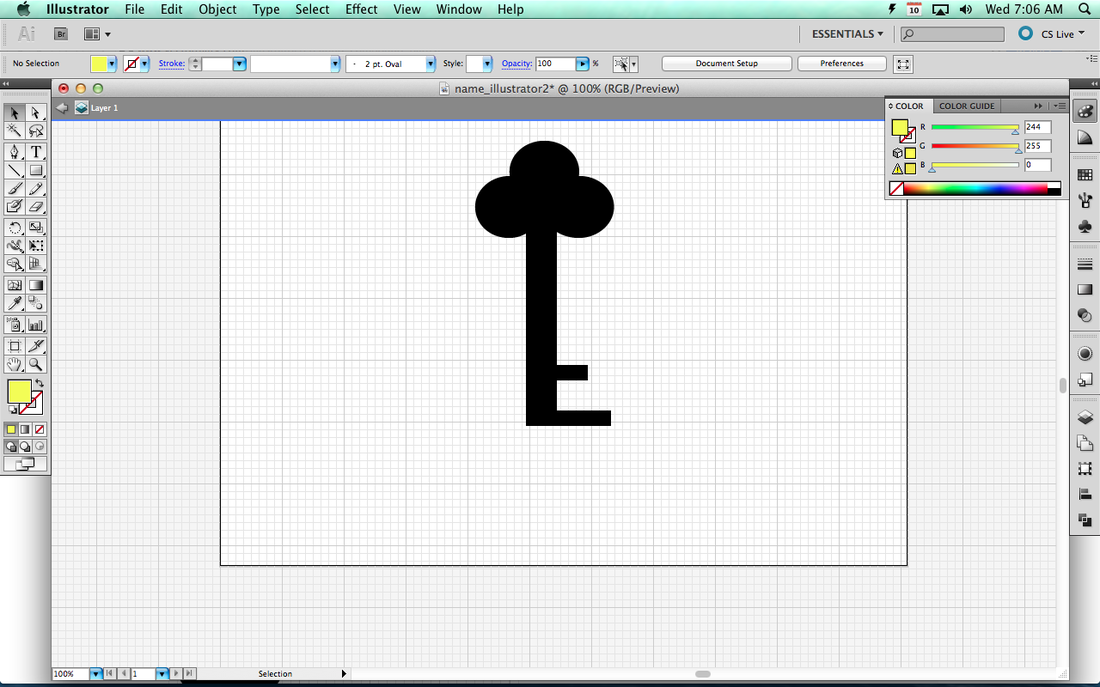
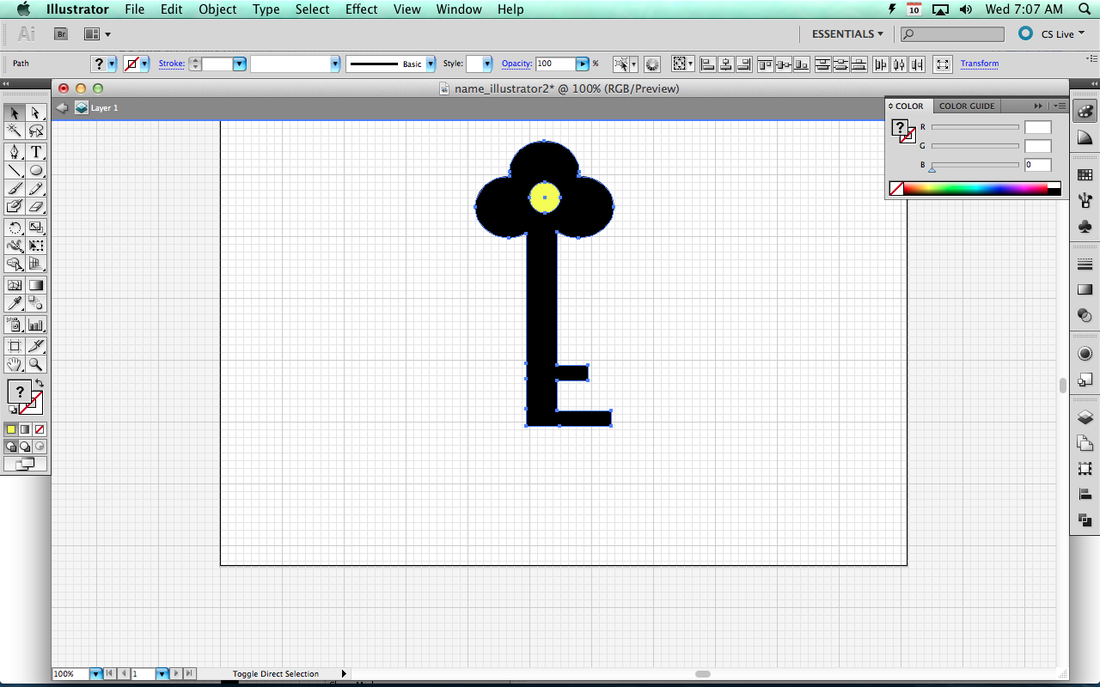
16) Your key will now be fully darkened. Change the color to something other than black.
17) Go back to your Ellipse tool and make a small circle in the center part of the top of the key.

18) Use your Selection tool to highlight the key and the circle. Make sure there is a line around all the objects.
19) Click on the Minus button on the Pathfinder window to remove the center circle from the key. You will see an opening and a transparent hole where the circle was before.